Monday, December 26, 2011

Christmas craft

LONG overdue! Here's one of the Christmas crafts I worked on a few weeks ago. Turned out really cute! 


          ~Nat

Emily's birthday cake

November 27th was Emily's birthday and I wanted to make her birthday cake. My mom was PERFECTLY fine with that! Here are some pics:


It was pretty awesome! It was 3 cake mixes! I did a thin layer of cream cheese icing between the layers because I didn't want it to be TOO sweet. 


The cake was SOOOOO pretty!! I just wished I had a white cake stand for it. It has motivated me to start looking for one. Everybody loved it!! 


Happy birthday Em!!! Love you!!

          ~Nat

Thursday, December 15, 2011

Turkey Day Part 2!!

WOW...I've been terrible at this lately!! Things have been crazy!! So I want to finish up my Thanksgiving post almost a month later!! Here's the other recipe I have for the MOST amazing queso ever!!

Queso Recipe:
1 block (32oz.) of Velveeta Cheese
1 package (8oz.) of cream cheese
1 can of Rotel
1 can of cream of mushroom soup
1 lb of beef of sausage (or both)


  • Brown ground beef or sausage (or both) in pan over medium heat and set aside. 
  • Cut up Velveeta and cream cheese into cubes and place into a crock pot. (I just used a pot on the stove and let it on almost the lowest heat setting.)
  • Pour in the Rotel and cream of mushroom soup and stir ingredients together. 
  • Place the crock pot (or pan) on low setting for an hour, letting the ingredients meld. 
  • After about 30 minutes add the browned meat and continue to let cook, stirring as needed.

When I make queso I usually would just use Velveeta and a can of Rotel. Honestly, I didn't think this recipe tasted much different from mine, even with the meat in it! Spence thought it did! I think it just made it more creamy and thick. Don't get me wrong, it was still delicious and super easy! 


Here are some other pics from the day: 


This is my cousin's dog, Rosco!!!! We love him, especially his cute bat ears!!


Then the rest of the night was followed by the A&M vs. UT game and Black Friday shopping!!! It was a great holiday! Can't wait til Christmas when we get to talk to Stephen!!!!


          ~Nat

Sunday, December 4, 2011

Turkey Day Part 1


Well I haven't posted in a while so I figured it was about time! Of course I've got some recipes to share! Thanksgiving day we spent at my parents house. Spencer's parents joined us along with other family and friends. I love Thanksgiving and spending time with family. You eat until you can't breath, sleep, and then eat some more. AND of course we got ready for Black Friday shopping!!! After lunch/dinner we sat down and looked at the newspaper with all the Black Friday ads in it. 

Here is my first recipe. We were asked to bring a dessert. I figured by the time dessert comes around every body is so full they want to die (you know that doesn't stop us from eating dessert) and so something light would be the best thing to bring! I found an awesome, really easy strawberry cream pie dessert and made two of those to bring. Here is the recipe:

Strawberry Cream Pie:

Crust (I used premade crust. I bet it would taste delicious with a homemade cookie crust.)
1 small package of sugar free strawberry Jell-O
1-8 oz. tub of cool whip
Strawberries--Washed, sliced, and sweetened

This is all you need! So awesome. I've got double of everything because I made two pies.


Dissolve the entire package of the strawberry jello in a 1/2 cup of hot water until jello is dissolved. Add 1/2 cup of ice cold water and stir. Add the entire tub of cool whip and stir until well combined. Chill jello mixture in the fridge until it starts to thicken. (It will thicken in about 20-30 minutes).


Stir the mixture until it is smooth.


Next, remove from fridge and fold in slices of strawberries. 


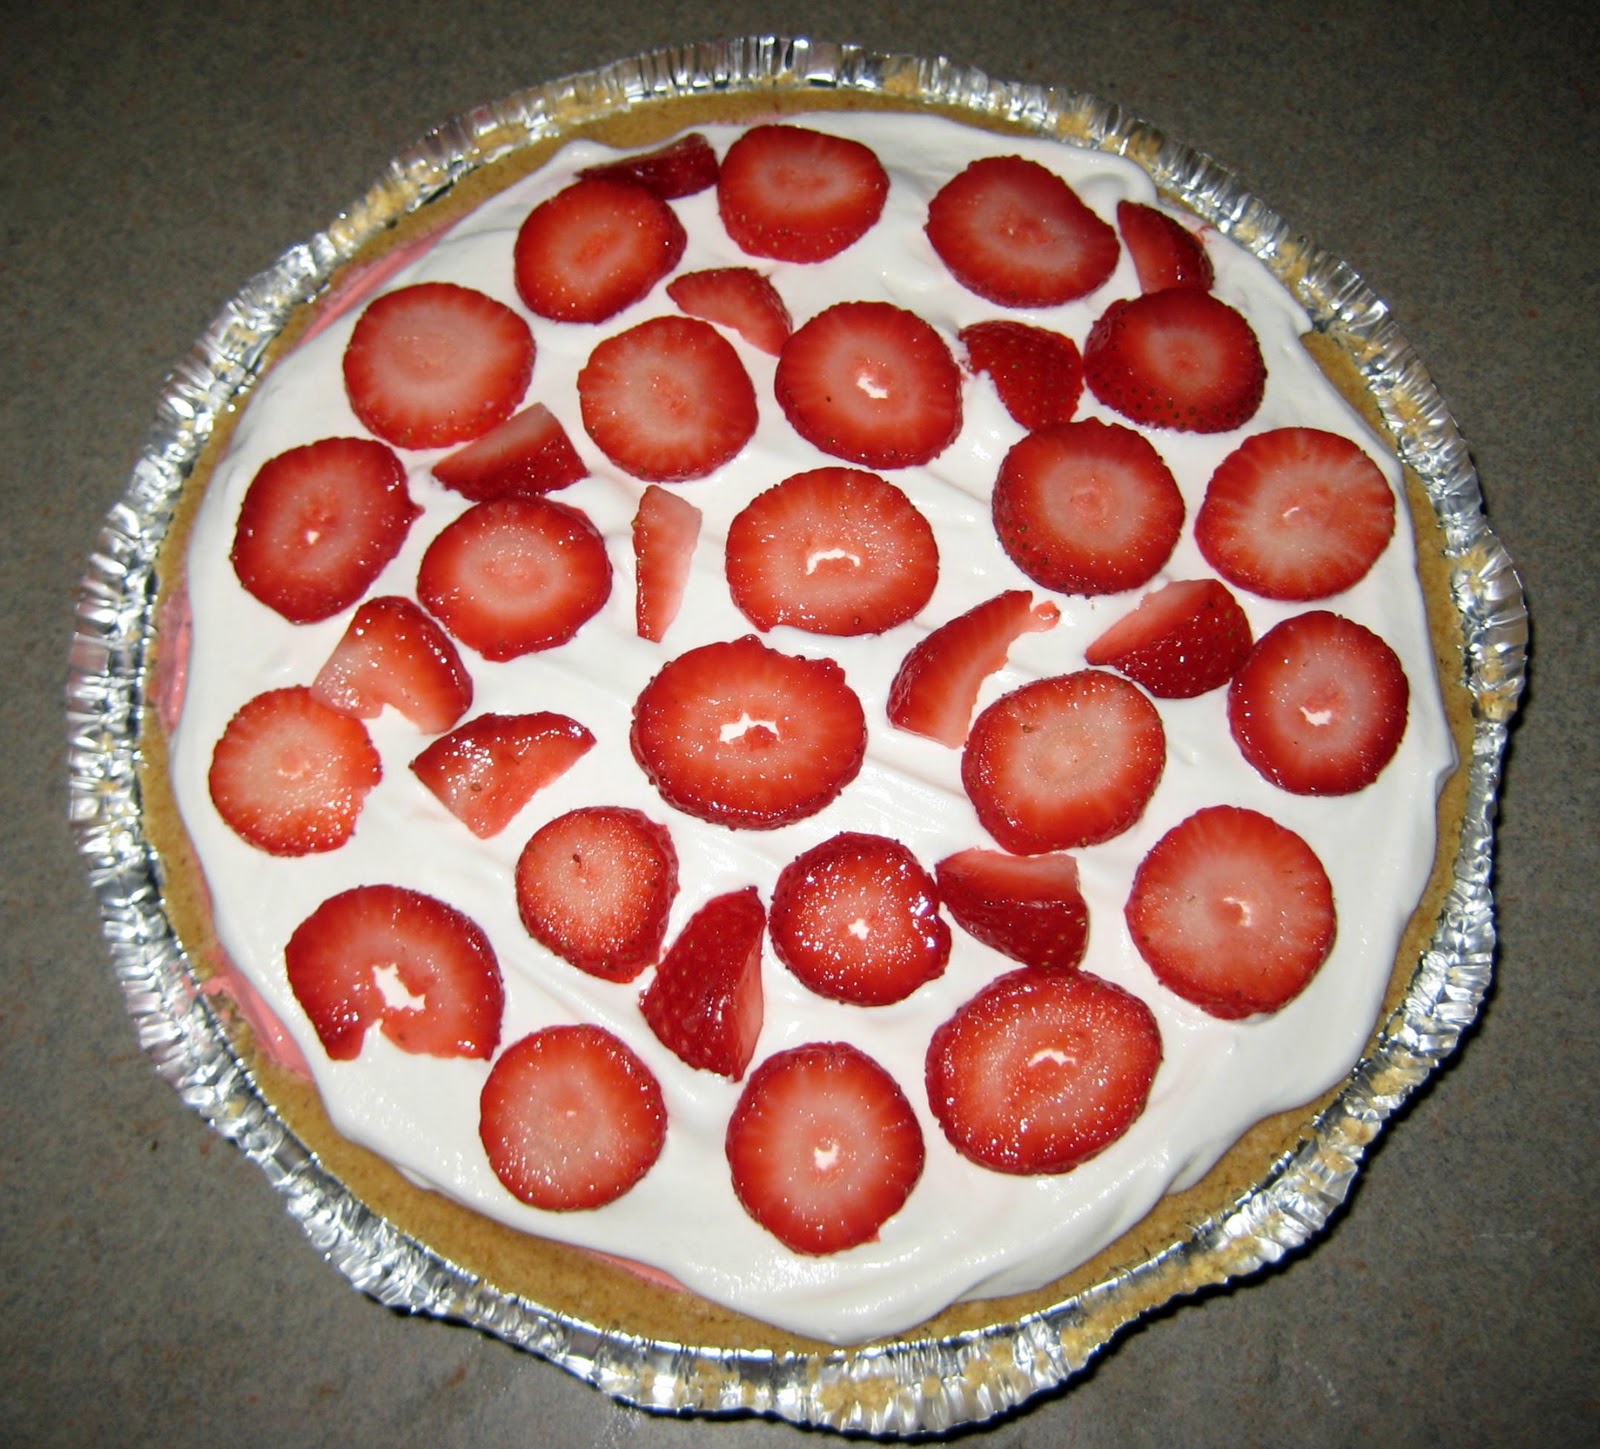
I left them in the fridge like this overnight. Then Thanksgiving day I added whip cream and strawberries to the top. 


Now I'm hungry!


The pie was REALLY good and perfect on a full stomach! : ) The pie tasted SO much better a day of two after Thanksgiving. I think it's because the flavor had more time to set in after being refrigerated for a little longer.

 This concludes Part 1 of Thanksgiving! MORE to come soon!! Thanks for following!

          ~Nat

Sunday, November 13, 2011

Potato Lovers-Great cold weather recipe

So I've been CRAVING potato soup for weeks now and last night we made a late night trip to Walmart and decided to get some ingredients to make this stuff!! SOOOOO GOOD!!!!!!!


The recipe seems pretty popular because you don't use heavy whipping cream. Apparently a lot of other potato soup recipes use heavy whipping cream. Here is the recipe we used and a few things we changed:

Crock Pot Potato Soup Recipe:

5 lbs of red potatoes NOT peeled diced into 1/2 inch cubes(We used red potatoes) 
1 large yellow onion
10 cloves of garlic, whole
8 cups of chicken stock
16 oz. of cream cheese (We used 8 oz of regular and 8 oz of lowfat)
1 tbs of all purpose seasoning. We used Nature's Seasoning.

Optional garnishes:
Crumbled bacon
Shredded cheese
Green onions

Directions:

Add potatoes, onion, garlic, seasoning and chicken stock to crock pot. 


Cook on high for 6 hours or on low for 10 hours. We cooked it on low for 10 hours. We put it on about 3 a.m. in the morning and it was ready by the time we got home from church. Perfect Sunday meal! We love walking in to something yummy cooking!! : )


Remove and puree (We used our Ninja blender) the garlic cloves along with 1/2 of the soup and then reintroduce it to the remainder in the crock pot. If you would rather have more chunky potatoes than pureed soup, take out less of the soup to puree or vice versa. 


Stir in the cream cheese and allow to melt (You can even put all of the cream cheese in the blender with the 1/2 cup of soup you removed. Then your soup will be ready quicker). Stir every 10-15 minutes until soup is well blended. 


Top your soup with your choice of garnishes and serve! 


This stuff was SOOOOO good and easy! Hope you try it out. It really is the perfect cold weather recipe. Too bad it's 80 degrees here in Texas, but we're staying hopeful! 


          ~Nat

Thursday, November 10, 2011

REESE'S FAN??


It was my dad's birthday on Tuesday November 8th, so Spence and I made him a cake the night before. The decision was easy. His favorite candy is Reese's  peanut butter cups so what would be better than a heavenly Reese's cake coated with a light peanut butter icing?!!? Let me tell you, this thing is to die for. No, literally. After one piece of this baby you really feel like you are going to die. Strangely enough that won't stop you from eating a second or a third . ; ) Are you ready for this??? Check out the recipe below:


For the cake part I just used a box of this stuff (I'm glad I chose dark chocolate fudge instead of just devils food. I think the dark chocolate was WAY better with the peanut butter.) :


For the icing I made 3X as much as the recipe called for because I wanted to do layers in the cake and put icing between each layer.

THE Peanut Butter deliciousness: (one batch)
1 cup of powdered sugar
1 cup of creamy peanut butter
5 tablespoons of unsalted butter (room temperature)
3/4 teaspoon of vanilla extract
1/3 teaspoon of salt
1/3 cup of whipping cream

Mix powered sugar, peanut butter, unsalted butter, vanilla extract, and salt. Mix it on low until it is smooth (probably a good 2 minutes or so). Once texture is creamy and has an even consistency add the whipping cream and beat until light a fluffy. SO EASY!


This peanut butter icing is so addicting it should be illegal! I will FOREVER avoid trying to figure out the amount of calories that is in one spoonful of this heavenly mess.


After I finished the icing I layered the cake (3 layers) with icing between each layer. Then I iced the entire cake. 


Then Spence cut miniature Reese's peanut butter cups in half to decorate the outside of the cake. I chopped some up to sprinkle on the top.


Here's the finished product!!


Spence and I found these HUGE (SIZE 20!!!!) shoes at Ross. We laughed at them for a good 10 minutes. They were marked down to $5 so we HAD to buy them! The laugh was definitely worth the $5! My dad actually wore them around the house for the next hour. haha.


Testing his shoes out...

haha....this is his size 12 shoe next to the size 20.


Checking out his new watch!


Happy birthday Dad!! Thanks for everything you do!!! Love you!!

SO YUMMMYYYYYYY!!


Thanks for following!!

          ~Nat

Blogger templates

Blogger news

Locations of Site Visitors

Blogger templates

Powered by Blogger.

Pages - Menu

Popular Posts

Followers